You’ll get a roster entry that clips can be attributed to, so a player’s findings, patterns, and progress build into one history instead of scattering across unassigned clips.
Steps
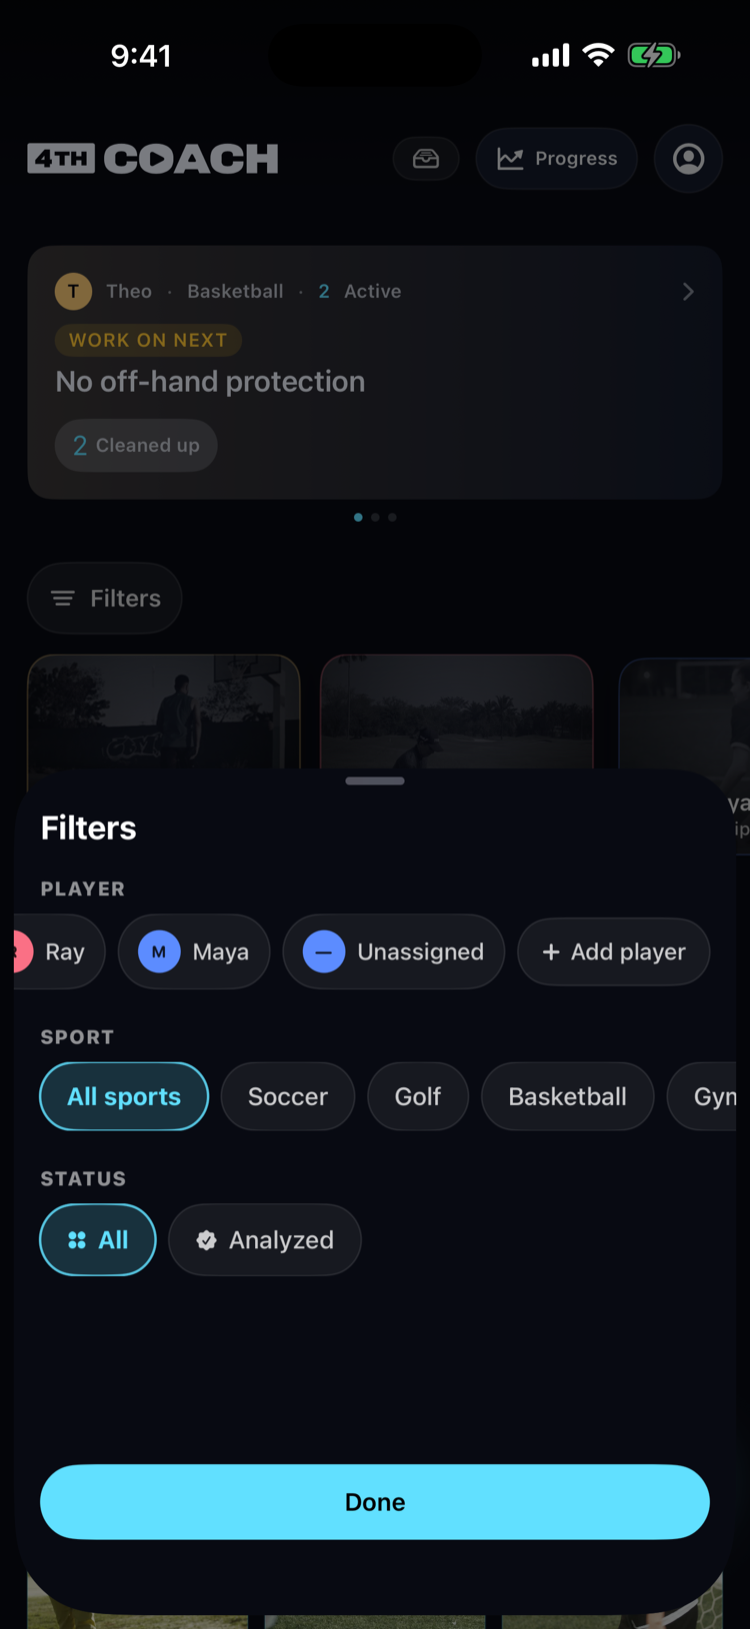
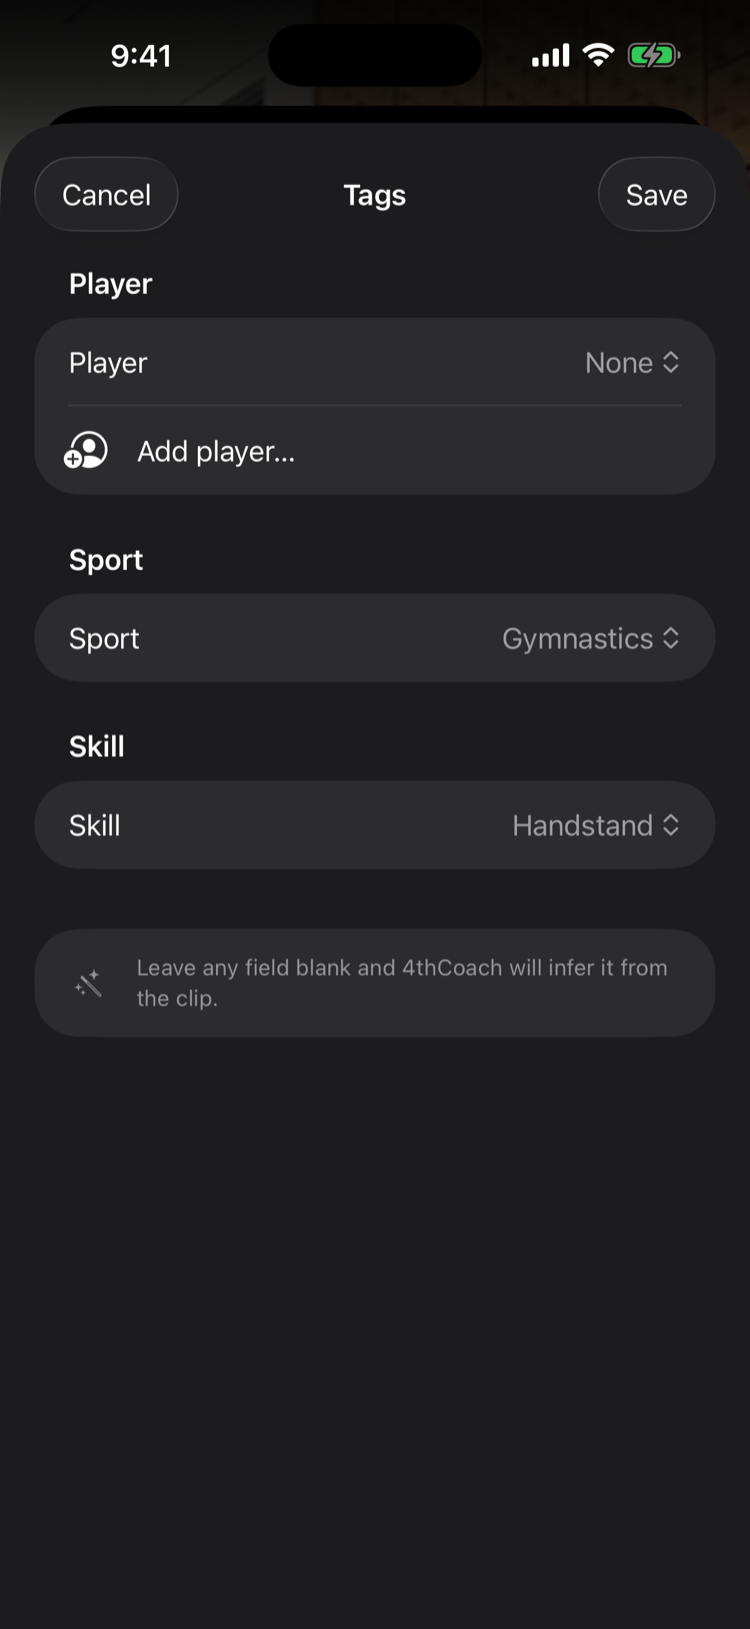
- Open the players filter on the library home screen and tap the Add player chip. You can also start from a clip’s tag editor — its player picker has an “Add player…” row that opens the same form.
- Enter a name. A tint color is picked for you; you can change it from the same form.
- Pick a coach voice, if you want. This only affects the optional audio walkthrough — leave it on Auto to let 4thCoach match the clip, or set Feminine/Masculine to always use one voice for this player.
- Save. The new player appears in your roster immediately and is selectable the next time you tag or filter a clip.
 1
1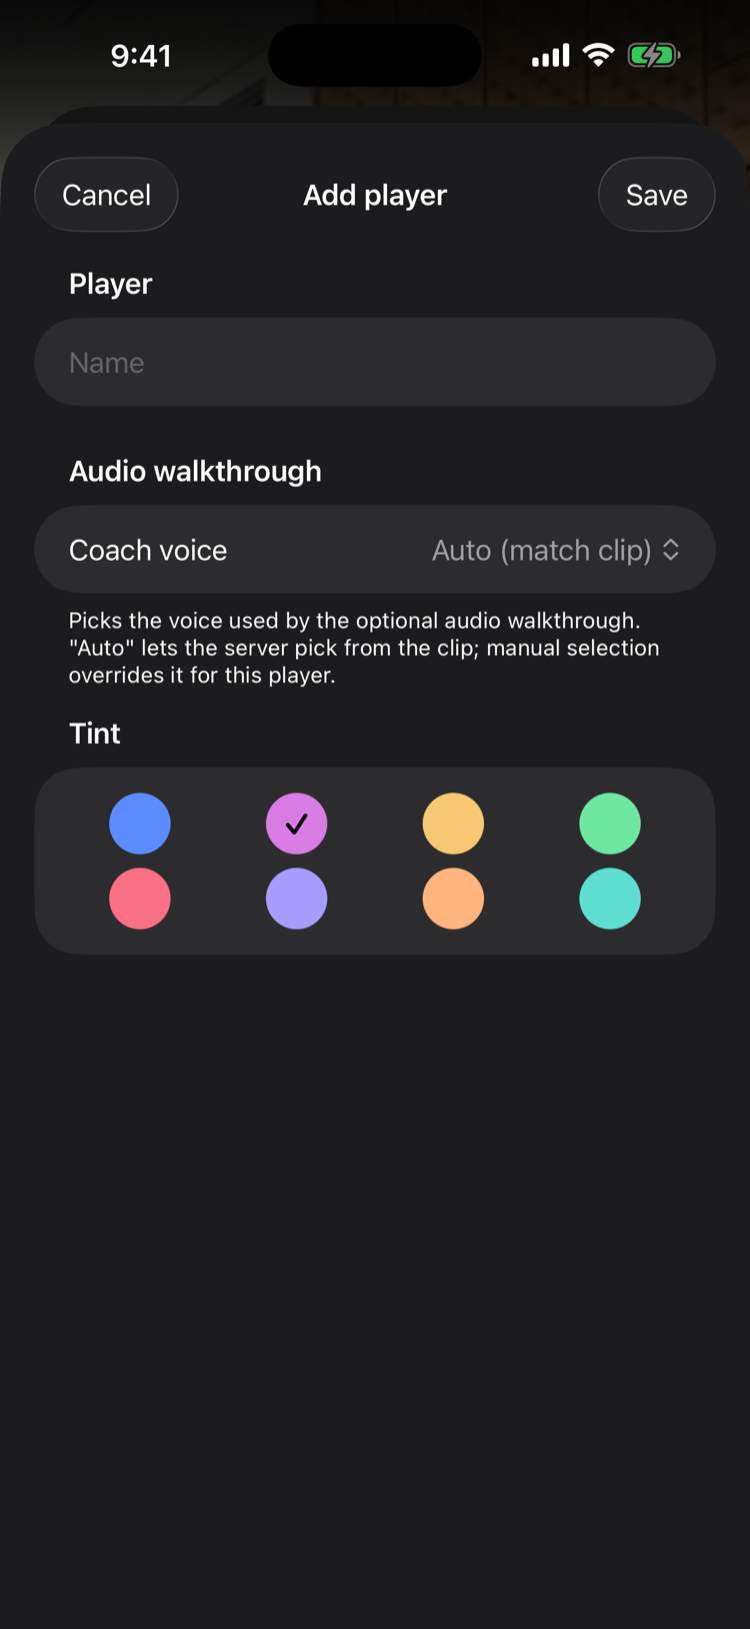
What can go wrong
- “Roster full” when adding a player: each plan has a maximum number of players. Upgrading to 4thCoach+ raises the limit — see How do I manage my subscription?.
- A clip is attributed to the wrong player: open the clip’s tag editor and change the player assignment; it doesn’t require re-analyzing.
- Removing a player: editing a player gives you the option to archive them (their clips stay visible, marked as archived) — this is separate from permanently deleting a player’s clips.
 1
1